Showing posts with label Revlon. Show all posts

Monday, March 19, 2012

2 celebrations - a Wedding & Saint Patricks day..

The weekend of the 17th of March was a busy one for me and my family.  Not only was it Saint Patrick's Day it was also my Brother's wedding and my cousin's 5th Birthday.  I was supposed to have a roller derby game on that weekend as well but luckily (although disappointingly me for) it was canceled due to lack of people turning up to training.

Anyway I digress.  Basically that busy weekend meant two sets of nails in one weekend :)

Here are the first ones, for my brothers wedding.  I went with a simple red for the base coat (to match my dress).  Unfortunately it didn't cover the purple Gelish particularly well, if you looked closely you could see the re-growth (but no-one really did apart from me).

The red was a gifted polish from my Aunty, a borghese lacquer in Venetian Red F and I used Konad Special Polish in White on the M65 Plate.


It turned out pretty nicely but just a tad boring for my tastes.  Good for a wedding though:)


Then a day later it was Saint Patrick's Day, one of my favourite days after living in Korea (because like most things American, in Korea they're crazy about it and an Irish drinking day was no different).  So I pulled out my greens and decided on a fairly simple manicure with a wee bit of sparkle.  


The Revlon Wind Fall Top Speed (NZ$8) covered up the gelish perfectly & the glitter (and occasional stars, from The Face Shop, NZ$4) helped make it pretty.  Sadly as good as my nails looked I didn't actually make it out for a drink as I was too tired and a wee bit hung over from the reception the night before.  But hey at least my nails looked fab :)

Till next week.
Nikki :o)

Black & White, Tropical & Royal Purple...

The Gelish is still going strong and it even lasted through a couple of weeks so I had long nails for my brothers wedding :)

Anyway enough about the gelish here are my nails over the last few weeks.

I had a hen's party to go to and the theme was black and white.  My first thought was for my nails, naturally, not my dress.

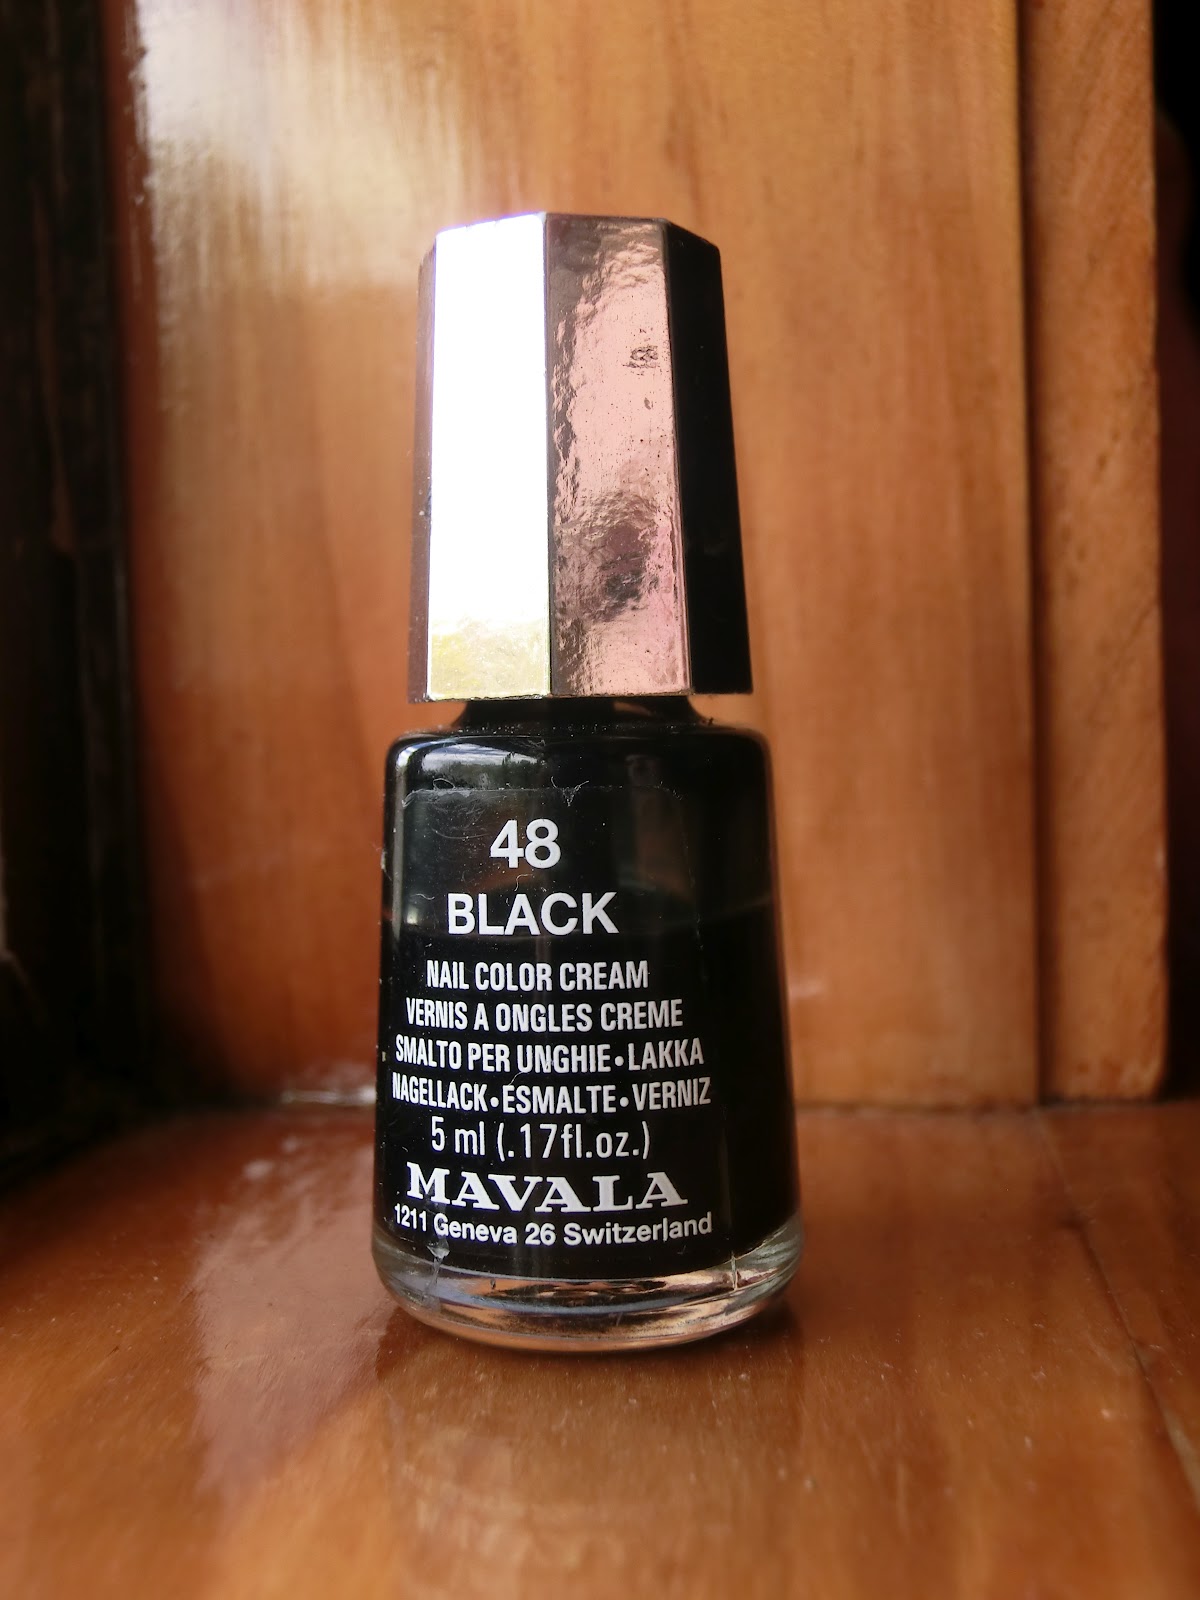
I went with black base coat  - a NZ$10 cheapy from a pharmacy when I needed black for Halloween one year.


And used Konad special Polish in White on stamp Konad M71.


I chose the lacey pattern in the upper right for all nails except two, which I used the bow in the lower left on to create feature nails just to keep it interesting :D

And the finished result.


 I was pretty pleased with these & got a few comments at the hen's party (and true to my nail addiction I ended up taking my nails with me to the party & doing a few nails :)

Then I was on holiday for two weeks.  As you can see below I took my nail polishes with me & in between sunbathing & drinking did mine & my friends nails.


My next design was inspired by another nail blogger (can't remember what blog but idea wasn't mine to start with).  

My base coat was one of my new revlon polishes I recieved the other day (gave in and ordered 8 online from a sale site, only took 2 months to be delivered but they were only $8 each so a steal).  And I used the Bundle Monster plate, BM-210 and the pattern in the top right, stamped in Konad Special Polish in White.  I then coloured in the middle of the pattern with Sally Hansen nail art pen in Blue.


Final look.


Kinda tropical I thought :) Didn't really wear that well though, rubbed off rather quickly.


For my last manicure I went back to using the gelish as my base again (so purple) and cause it had grown out so far I had to cover up the regrowth at the bottom.  I decided on a kind of reverse french manicure, with the tips at the base.  Sure there is a technical name for it but I never remember these things.

I used another of my new revlon polishes as the 'cover up' colour at the bottom, Endless possiblities.  Although it looks purple in this picture, its more like a peach/nude colour.


I stamped in Konad special polish in purple and used Bundle Monster plate BM17 as well as BM08 to add a little 'royality' to the look :)

And the end result.


Another 2 weeks of nails to come... going on holiday doesn't work with nail blogging so well :)

Till next week
Nikki
:o)


Saturday, December 10, 2011

Red, White, Gold & Green - Christmas Swirls...

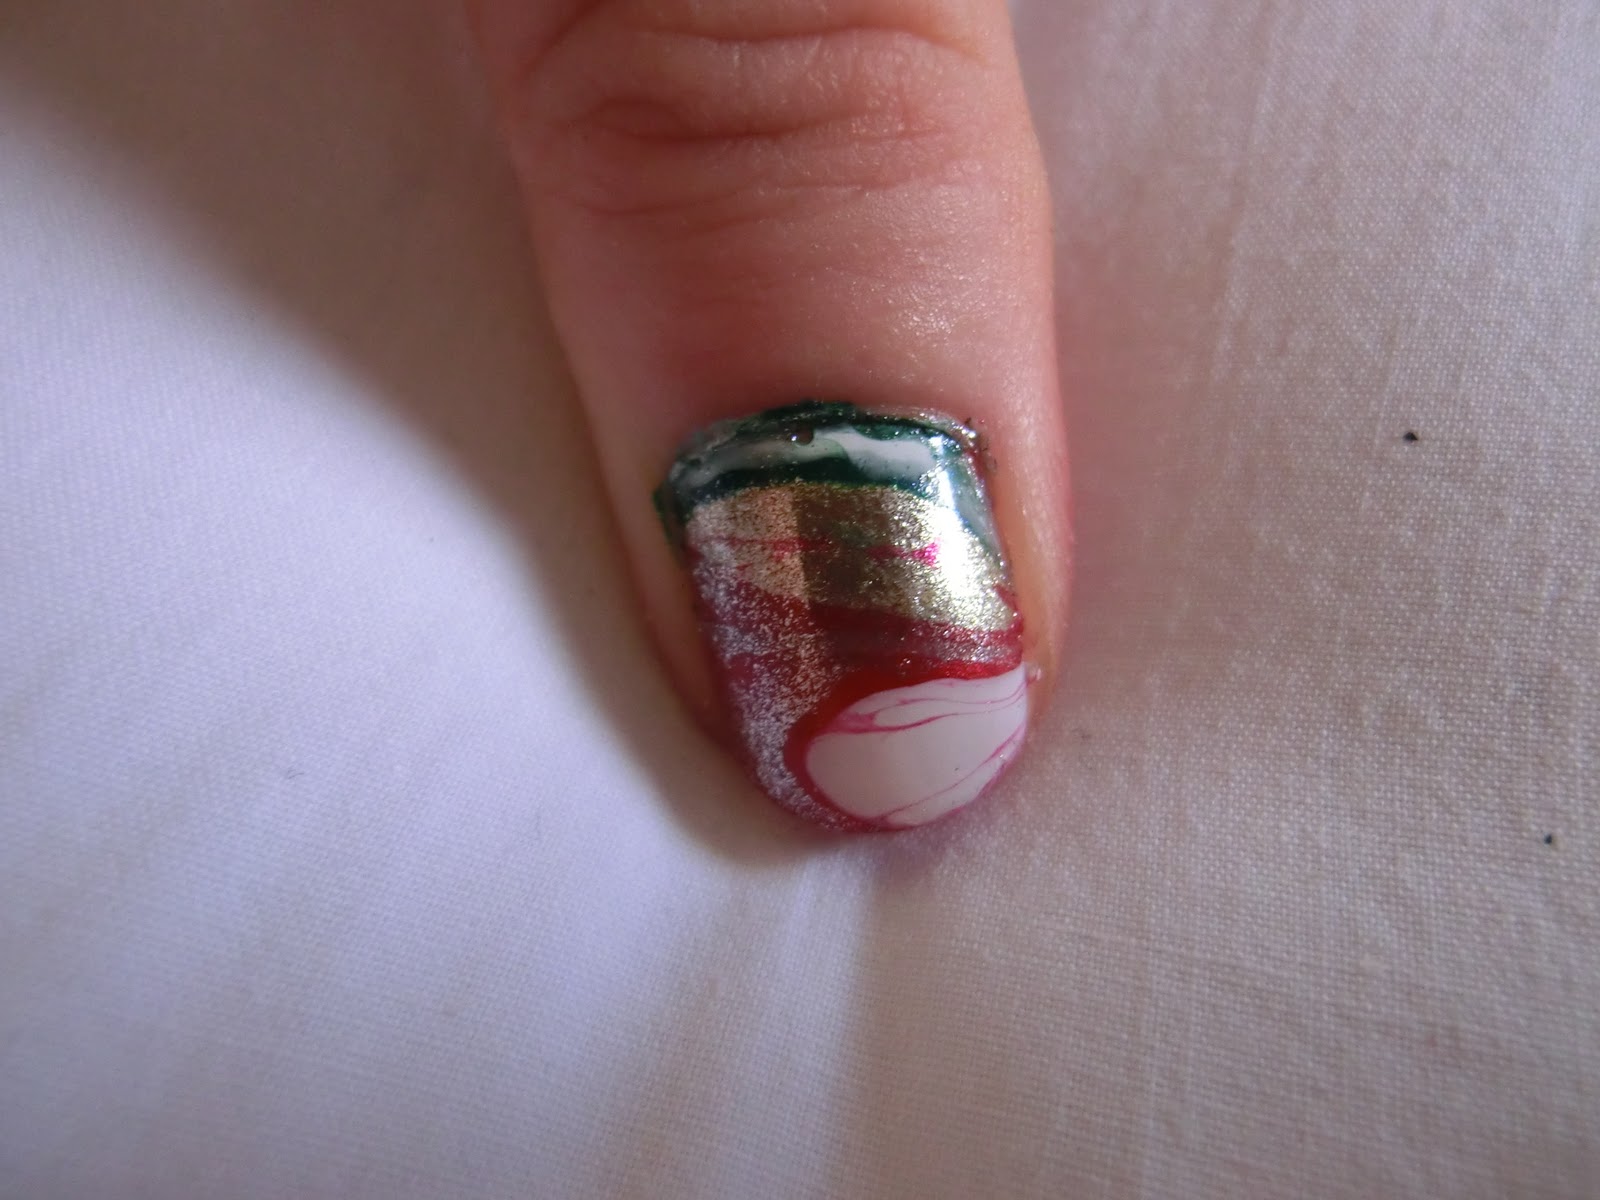
Its December - yay! Cause that means 4 weeks of christmas nails :) I had wanted to try out water marbling on my nails for a while so after checking out a few blogs & youtube videos I decided to give it a go.

The first attempts weren't so flash - its harder than it looks!  Here's a run down of a steps I took.

Tools I used


Masking tape + skewers (tooth picks will do but we didnt have any)


plastic cup (or something that it won't matter if it gets nail polish stuck to it) half filled with water.  And of course a piece of newspaper or cardboard to catch any drips.  Also use a table or stable surface, I used my bed & every time I moved, so too did my design floating on the water!

My Christmas colours:


A mixture of expensive & cheap.  The two revlon ones worked best, although cause their were quite thin they spread quickly.  The green was a cheapy from the Korean chain shop, Skin Food & the white is from a french manicure set by Kiss.

Step 1.
Tape masking tape around your nail as close as you can (I used about 4 pieces).  Any skin you miss will be covered in nail polish so tape well :)


Step 2.

Drop colours in one at a time inside one another to create a bulls eye.  I had to play around with this due to the different thickness of the nail polishes.  Also you need to do this fast otherwise the nail polish sets & when you try to stir it, it sticks to the toothpick.

Step 3.

Create pretty swirly patterns using the toothpick.  You don't have to make many lines, as too many may 'burst' the outer edge of the polish & it will get very messy looking.


Step 4. 

Dip your taped up finger into the water.  Once you've submerged your finger, use the toothpick to collect all the extra polish that's floating on the water still otherwise it will recoat your nail as you pull your finger out.  Found out that the hard way :/


Step 5.

Remove the tape once dry & add a top coat to seal in the colour.  The other thing I did was touch up the gold on a few of my nails as it spread a bit too thin on the water so didn't coat my nail very thickly.


Now I have to confess this was the first nail I did & I was quite impressed with it.  Sadly the rest of my nine nails didn't look half as good as you can see below


They look marbled, but not exactly pretty!

So I had another try the next day and they turned out much more to my liking


I didn't use white & had to repaint the gold but at least they looked christmasy this time!


Till the next set of Xmas nails
Nikki :o)