Showing posts with label Face Shop. Show all posts

Sunday, April 7, 2013

Nails from the last few weeks....

Hi again,

It's been a while - been busy organsining my next job and sleeping in :)

Here's my nails from the last few weeks.

I found this silver polish the other day, after being sick of having to paint on 3 plus coats of my silver glitter and having it chip after a day.  Then to make it ever better, I discovered that it stamps perfectly - yay for another stamping colour.  It's Posh Polish by beauty UK, Olympic Silver no. 2.


I then decided to paint each nail a different colour and stamp it with silver.


I used essence Miami Roller Girl in Four Wheel Drive pink, green from the faceshop (in Korea), La Femme Beauty in blue & Hot Looks in Hip Hop orange.


I used BM-322 from Bundle Monsters 2012 collection.


Orange on my thumb, Green on my middle finger.


Blue on my pointer & ring finger and Pink on my little finger.


Next up it was time for Easter nails, I used some of the same colours.


The Faceshop green, Miami Roller Girl in Pink, Miss Sporty in Yellow and Konad Special Polish in Black.

I used the Faceshop green as the base coat, Konad special polish in Black for stamping and dotted with the yellow & pink.


I used the bunny outline stamp for most nails and dotted ontop.


For my accent nails (on my ring fingers), I used the bunny and egg stamp with dots around the outside.


I used BM-302 plate.


The most recent set of nails I've done is for my leaving party, I went for sparkly and simple.

I used Nails inc. special effects in marylebone as the base coat and Konad Special Polish in Black for stamping.


 I used BM-313 for the stamp - it came out looking like dinosaur eggs, which I thought looked kinda cool :)


Hope you liked them all, 
till next manicure
Nikki :o)

Sunday, February 24, 2013

Once Upon a Time Challenge - Day 8 The Princess....


Hi all

Day 8 of the Once Upon A Time Challenge today and the theme is The Princess. Naturally I went for Pink, crowns & royalty inspired designs. The particular Princess I was thinking of was Snow and her quest for True Love (as long and rocky as it has been, she's always stuck to it and finding her true love).


For colours I used essence Miami Roller Girl (which I brought in Salzburg simply because it said Roller Girl and appealed to me as a Roller DERBY Girl haha), Konad Special Polish in White & a cheap nail art pen in Black from the Face Shop in Korea.

And here is the final result:


Left Hand (this is the only pic that shows the true colour of the polish, think the Camera didn't like the late night shots). Plates: m61 & BM-215. Plus nail art pen for the dots.


Right Hand - played around with a few more designs off the OMG Salon Pro 4 plate including the Crown & Head shot of girl. Also used Konad for the lace. Plates: OMG Salon Pro 4 & m71.


But the left hand was definitely my favourite :)

Hope you all enjoyed this mani, make sure you check out the other girls mani's and blogs.

Till next challenge,
Nikki x

Friday, February 1, 2013

Bye Bye Gelish, French & Blue starred...

Last week I decided the Gelish on my nails had run its course - manly due to the fact I couldn't type properly and I scratched a customer at work the other night - oops :P Here's a few shots of how far it grew out - pretty impressive length for me espically with working, it lasted over 8 weeks so really pleased with it.
And after an hour or two I was back to natural nails - abet very long natural nails. 


I then filed them to non-customer-scratching length and added a base coat to get them looking a wee bit healthier.


 Then attempted a french manicure with some glitter thrown on for fun (I am usually pretty bad at these, but was impressed this time).  Glitter was a cheap polish from the faceshop and white was part of a french manicure set I'd never used.


I then quickly got bored with this (plus it chipped within a day at work, gotta love the fast food industry and washing your hands every 5 mins) and did a bright blue number.


Using plates BM05 & BM20 (both the star patterns). Also tried entering this in the Bundle Monster competition to win the 2012 plates but sadly couldn't compete with those who had 1000's of votes from their blogs. Oh well maybe next time :)


Till next post,
Nikki x

Monday, March 19, 2012

2 celebrations - a Wedding & Saint Patricks day..

The weekend of the 17th of March was a busy one for me and my family.  Not only was it Saint Patrick's Day it was also my Brother's wedding and my cousin's 5th Birthday.  I was supposed to have a roller derby game on that weekend as well but luckily (although disappointingly me for) it was canceled due to lack of people turning up to training.

Anyway I digress.  Basically that busy weekend meant two sets of nails in one weekend :)

Here are the first ones, for my brothers wedding.  I went with a simple red for the base coat (to match my dress).  Unfortunately it didn't cover the purple Gelish particularly well, if you looked closely you could see the re-growth (but no-one really did apart from me).

The red was a gifted polish from my Aunty, a borghese lacquer in Venetian Red F and I used Konad Special Polish in White on the M65 Plate.


It turned out pretty nicely but just a tad boring for my tastes.  Good for a wedding though:)


Then a day later it was Saint Patrick's Day, one of my favourite days after living in Korea (because like most things American, in Korea they're crazy about it and an Irish drinking day was no different).  So I pulled out my greens and decided on a fairly simple manicure with a wee bit of sparkle.  


The Revlon Wind Fall Top Speed (NZ$8) covered up the gelish perfectly & the glitter (and occasional stars, from The Face Shop, NZ$4) helped make it pretty.  Sadly as good as my nails looked I didn't actually make it out for a drink as I was too tired and a wee bit hung over from the reception the night before.  But hey at least my nails looked fab :)

Till next week.
Nikki :o)

Saturday, December 10, 2011

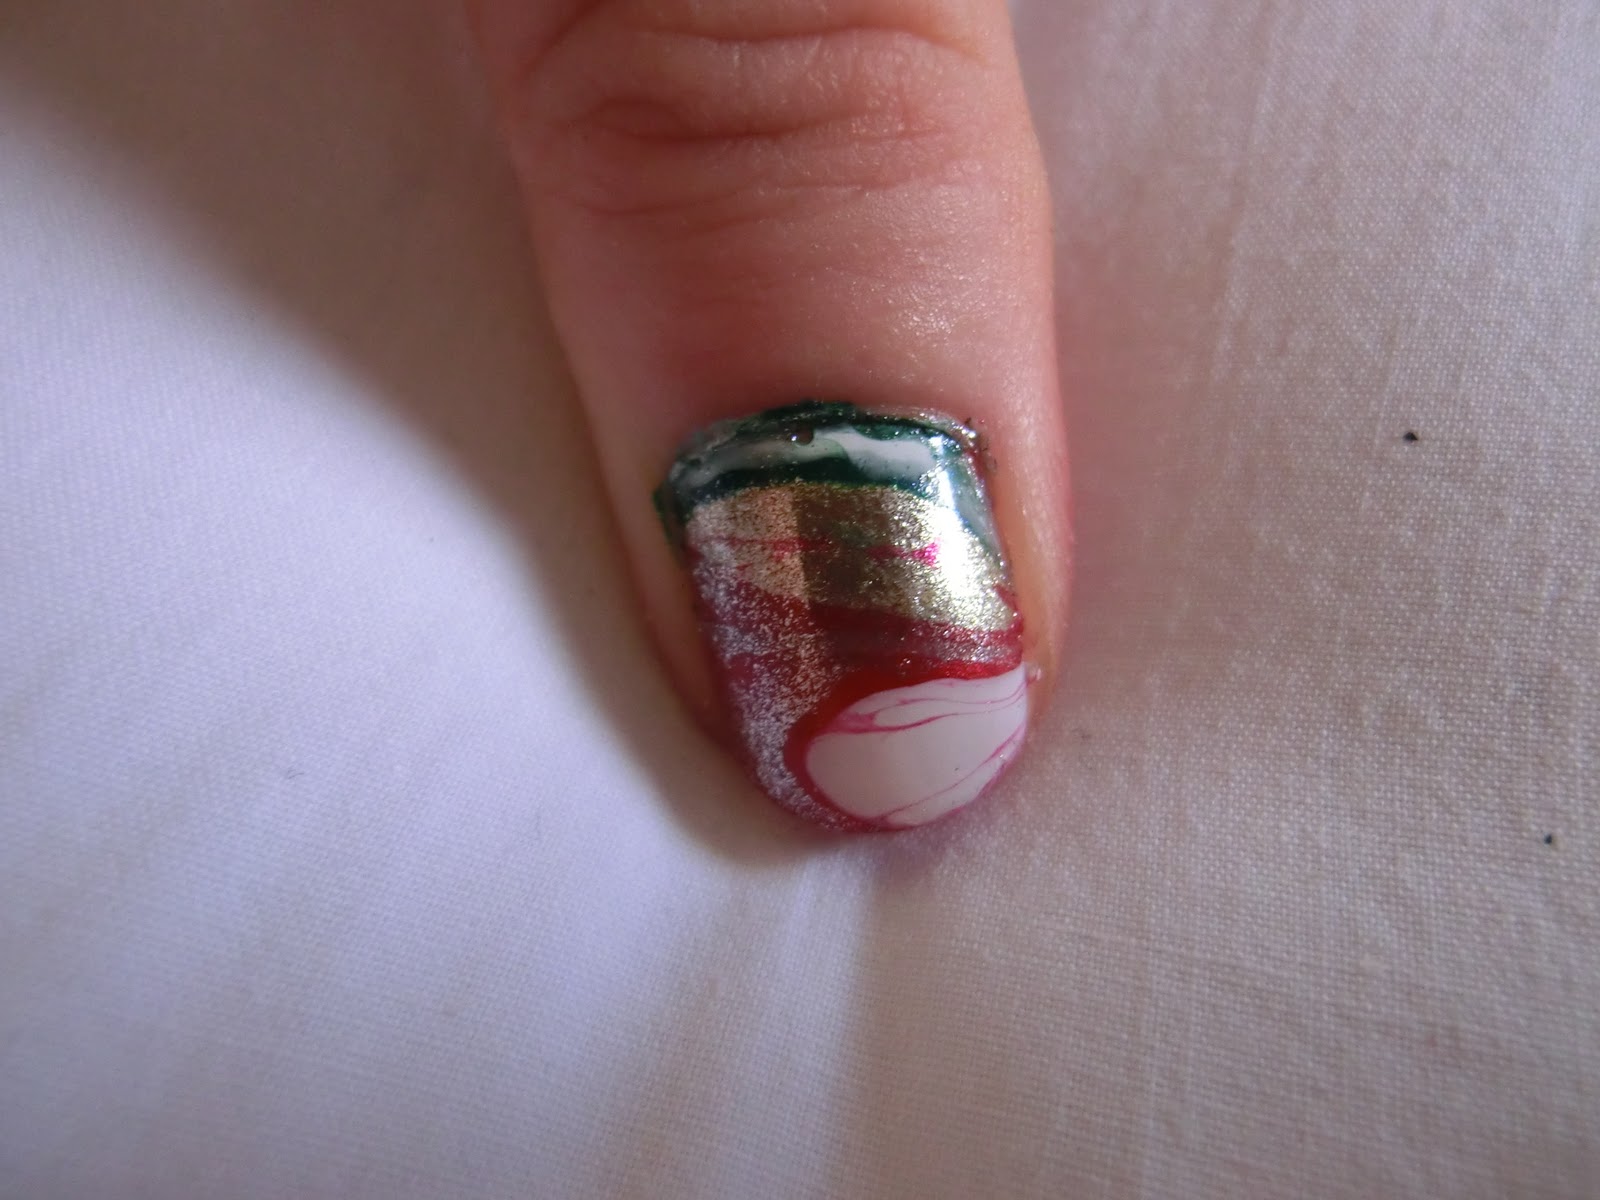
Red, White, Gold & Green - Christmas Swirls...

Its December - yay! Cause that means 4 weeks of christmas nails :) I had wanted to try out water marbling on my nails for a while so after checking out a few blogs & youtube videos I decided to give it a go.

The first attempts weren't so flash - its harder than it looks!  Here's a run down of a steps I took.

Tools I used


Masking tape + skewers (tooth picks will do but we didnt have any)


plastic cup (or something that it won't matter if it gets nail polish stuck to it) half filled with water.  And of course a piece of newspaper or cardboard to catch any drips.  Also use a table or stable surface, I used my bed & every time I moved, so too did my design floating on the water!

My Christmas colours:


A mixture of expensive & cheap.  The two revlon ones worked best, although cause their were quite thin they spread quickly.  The green was a cheapy from the Korean chain shop, Skin Food & the white is from a french manicure set by Kiss.

Step 1.
Tape masking tape around your nail as close as you can (I used about 4 pieces).  Any skin you miss will be covered in nail polish so tape well :)


Step 2.

Drop colours in one at a time inside one another to create a bulls eye.  I had to play around with this due to the different thickness of the nail polishes.  Also you need to do this fast otherwise the nail polish sets & when you try to stir it, it sticks to the toothpick.

Step 3.

Create pretty swirly patterns using the toothpick.  You don't have to make many lines, as too many may 'burst' the outer edge of the polish & it will get very messy looking.


Step 4. 

Dip your taped up finger into the water.  Once you've submerged your finger, use the toothpick to collect all the extra polish that's floating on the water still otherwise it will recoat your nail as you pull your finger out.  Found out that the hard way :/


Step 5.

Remove the tape once dry & add a top coat to seal in the colour.  The other thing I did was touch up the gold on a few of my nails as it spread a bit too thin on the water so didn't coat my nail very thickly.


Now I have to confess this was the first nail I did & I was quite impressed with it.  Sadly the rest of my nine nails didn't look half as good as you can see below


They look marbled, but not exactly pretty!

So I had another try the next day and they turned out much more to my liking


I didn't use white & had to repaint the gold but at least they looked christmasy this time!


Till the next set of Xmas nails
Nikki :o)